Tuesday 30 July 2019

Eskimo fishes and warm wishes

Christmas in July!  Well there is a Christmas sale on at The Little Paper Tree, so here is my card to give you inspiration
Here's what you will need:
A5 card blank
Blue Sparkle paper
Light blue card
Stamping card
Heffy Doodles Warm Hugs stamp
Catherine Pooler Something Borrowed ink pad
Catherine Pooler Tutti Frutti ink pad
Picket Fence Blending brushes
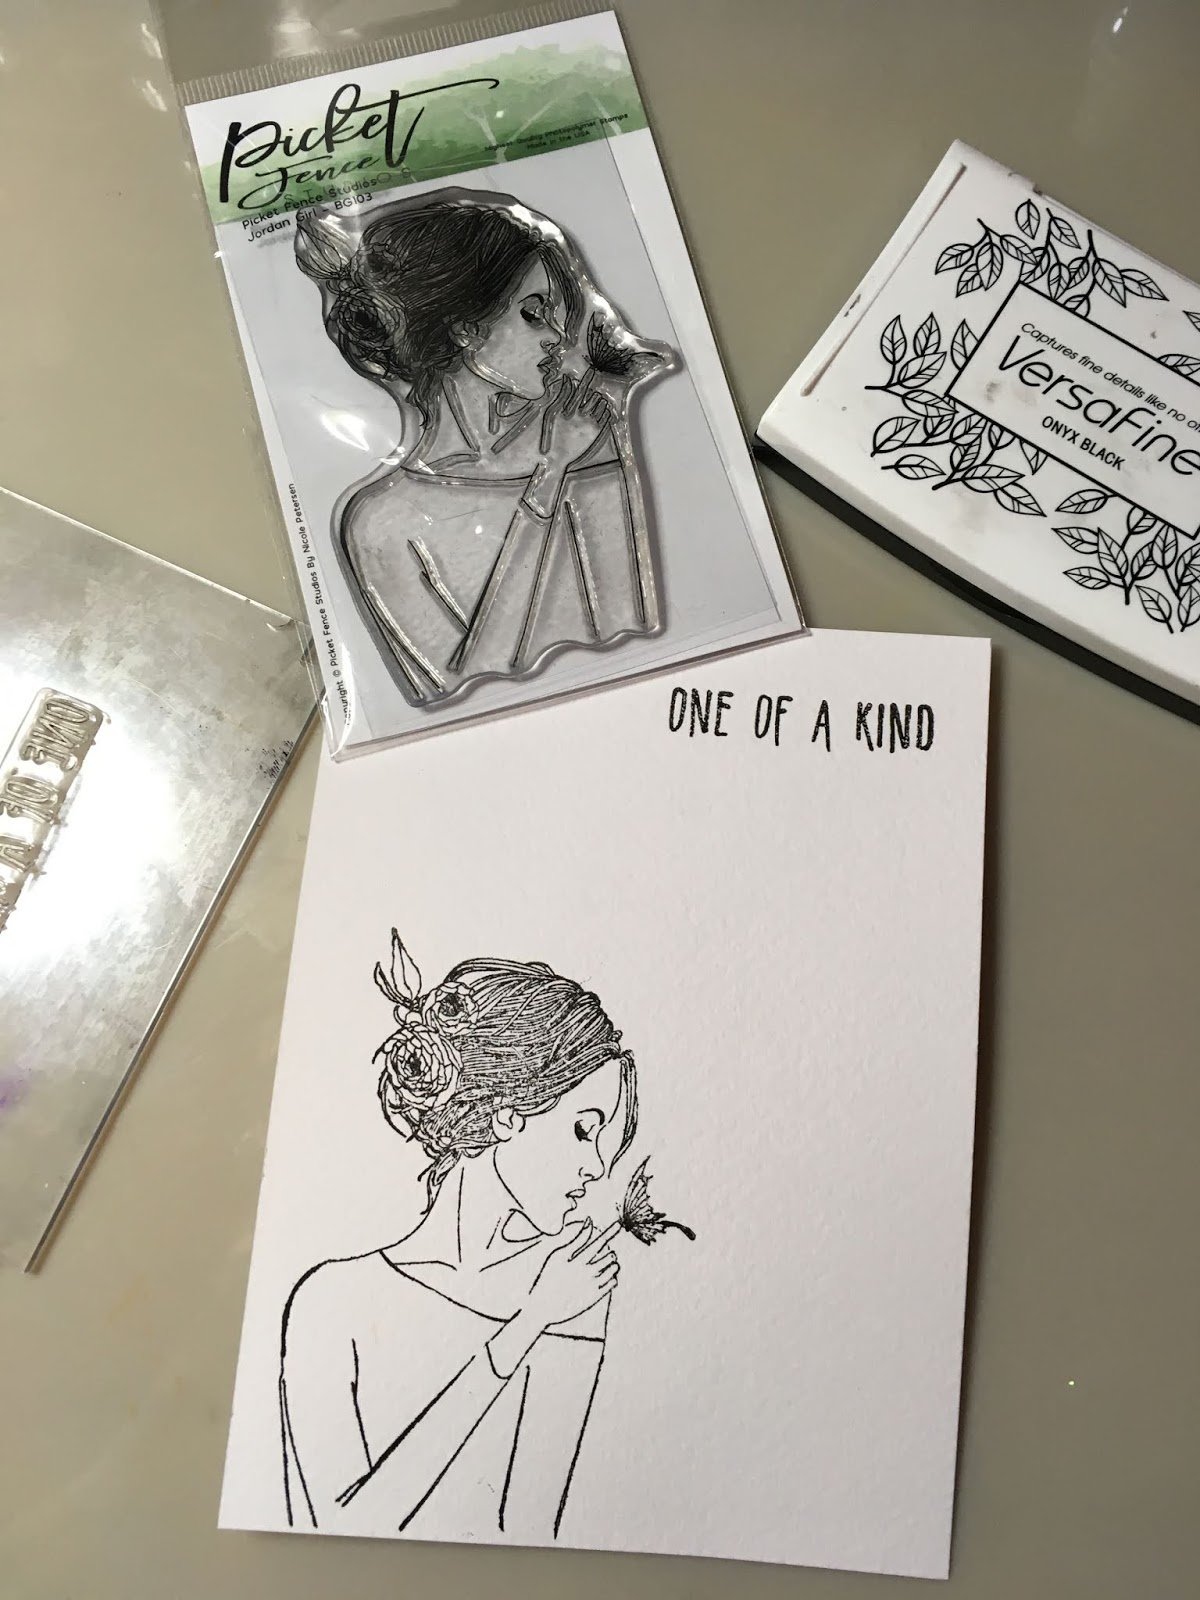
Versa fine Onyx Black ink pad
Ice Sparkle Glitter glue
Double sided tape
Black fine liner
3D foam pads

Here is how I made it:

  1. Using the large blending brush, gently brush the Something Borrowed ink from the top of the card to half way down, using a teared strip of paper to stop the ink where the snow would start.
  2. Repeat this lower down on an angle to show snow hills, then glitter.
  3. Stamp the igloo and Eskimo on a separate piece of stamping card and colour using the Catherine Pooler inks, then cut out leaving a small border.
  4. Stamp the ice hole, bucket, fish and fishing rod onto the main picture and colour.  Use a fine liner to draw the fishing line in.
  5. Using 3D foam pads, stick the Eskimo and igloo onto the card.
  6. Stamp and glitter the small snowflakes onto the sky area.
  7. Stamp the sentiment onto a separate piece of card and cut out as an arrow.  Use 3D foam to mount onto card.
  8. Using the Blue sparkle paper, and light blue card, mount onto the A5 card blank.
I hope this card has inspired to you start you Christmas cards early, so hop off to The Little Paper Tree Shop to get your materials.  Don't forget to use my unique code gail10 to get your 10% discount, and don't forget - there is a sale on at the moment!!!

Please feel free to leave me a comment and recommend to a friend.

Friday 26 July 2019

Winter Wonderland Fridge Magnet

Fancy a change from making cards?  Here is an idea for a fridge magnet:

Here is what you need:

2.5" diameter MDF circle
White Stamping Card
Winter Wonderland Stamp Set
Versafine ink pad Onxy Black
Alcohol pens
White pen - I used a Uniball Signo
Clear or white Glitter
Dries Clear glue
Glass paper (sandpaper)
Clear varnish or Glossy Accents
Magnet

Here is what I did
  1. Stamp the image of the two deer's on a piece of stamping card and colour in using your favourite preferred colouring tools. 
  2. Underline the characters with glue and glitter to ground them and the border between the sky and snow.
  3. Glue onto the MDF circle and wait until it dries.
  4. Cut out around the circle leaving a millimetre overhanging, use the glass paper to smooth the edges. 
  5. Cover the image with a thin layer of varnish and let this dry.  Top Tip  - Don't try to do this on a hot day - I did and it was not happy!!!!
  6. Outline the edge with glue and glitter.
  7. Attach a magnet onto the back.  I cut some off a self adhesive roll.

Tuesday 23 July 2019

Part of the Pack

Part of the Pack

Here is my Part of the Pack card that was made using the Part of the Pack stamps by Picket Fence Studios.  This stamp is packed full of stamps - 8 in total and is very versatile.  

I stamped the image onto 6" square piece of stamping card and coloured using Nuvo alcohol pens and highlighted areas with my coloured pencils.  I painted in some green grass using a green watercolour paint to ground the dogs.  I added the sentiment and drew a border around the card with a black fine liner adding crosses in the corners and three dots a little higher up on each line. I then mounted it up onto black and sparkle green card and adhered it onto an 8" square card.

Here is another one I made for a friend leaving work.  I added my own sentiment using alphabet letters and a border stamp from my stash and some green backing paper.

Call in at The Little Paper Tree shop to get your materials and don't forget to use discount code gail10 for your 10% discount.  


Monday 22 July 2019

Hola Llama

Hola Llama,


Sometimes it’s just nice to say Hola I’ve given the Llama a lovely bright background - reminds me of holidays.

I used the Catherine Pooler minis to create this background, just by blending all the bright colours onto a piece of card and randomly stamping the Hola stamp from the No Problama stamp set and blended the orange colour around the outside.


The Llama was stamped in Versamark and embossed in clear embossing powders, I used Distress Oxides (Vintage  Photo and Fossilized Amber) I also stamped the little flower for her hair.

On a separate sheet of card I Stamped the Hola stamp 3 times and cut out. I went round the border of the rectangles in the same inks as the background and 3D mounted them onto the card. I finished the card by mounting onto a light blue background and adding a few gems.


All the items used can be bought from The Little Paper Tree, just follow the link, and don’t forget to use my discount code:  gail10 at the checkout.

Have fun
Hola!

Friday 19 July 2019

Multicoloured Hibiscus

Multicoloured Hibiscus

Hi everybody,

It's Friday, so It's my turn to show you all a card.  I used the A5 Hibiscus stamp to make this card, I wanted something summery and colourful, so here is what I came up with:

What you will need:

A5 Hibiscus stamp from Colourific
Stamping card
A4 Burgundy card
Multicoloured embossing inks - I used Catherine Pooler's Minis - Party Collection
Clear Embossing powder
Sentiment stamps from my stash
Tonic Nuvo drops
Kitchen roll
paintbrush and water

Here is what I did:

  1. Randomly stamped and embossed images from the Hibiscus stamp set onto white stamping card measuring 17 x 13.5 cms.
  2. Blended the white background with the red ink and splashed water onto it.  Before it dried, I blotted it with the kitchen roll to leave white splodges on the card
  3. I stamped and cut out a sentiment from my stash, you can use any of your own, and glued it to the card.
  4. Mat and layer the card onto white card and I used a burgundy card base and Nuvo drops in each corner to finish it off.

All finished.  Time to clean up that lovely inky mess.  

Maria
x

Tuesday 16 July 2019

Llama card


Happy Tuesday everyone,

Today I am showing you the first card I made with the No Probllama set of stamps by Honey Bee.  This set of stamps includes 19 stamps that can be used together or can be used as standalone items.  I have made a few different cards using this set of stamps so keep watching to see what I come up with next.  This is one of my more sensible ones.
These stamps can be bought from The Little Paper Tree Shop along with many more stamps that have been shipped over from America.
I have used Distress inks and Distress Oxide inks to colour the picture - these inks are also available from the shop #thelittlepapertreeshop.
Don't forget to use my unique discount code gail10 to get 10% off your order.

The Little Paper Tree site is nearing its 500 followers, so get yourself down there and bag yourselves a bargain - and see if you can be their 500th follower.  They also have a facebook group called #thelittlepapertreehousetribe it may be only a small group but you will find many more links to cards and youtube blogs to help you on your crafty voyage. 

Anyone interested in helping the charity MIND whilst enjoying your crafting? keep tuned ……..


Here is what you need:

White stamping card
Honey Bee stamp set No Probllama
Versafine Black Onyx stamp pad
Masking paper
Distress Oxides to paint Fossilized Amber, Vintage Photo, Peeled Paint and Twisted Citron
Distress inks - Mermaid Lagoon and Soot Black
White Gel pen
Black card
7x7" card blank
Glue or double sided tape

This is how I made it:

  1. Stamp the Llama on a piece of 5x5" stamping card using the black onyx Versafine pad.
  2. Stamp and cut out a mask of the Llama or use drawing gum to mask.
  3. Stamp the image of the cactus on top of the end of the Llama and another one slightly higher up.
  4. Using a strip of torn paper as a mask, blend some distress black ink off the mask and onto the card to give the Llama something to stand on.
  5. Stamp the Llama sentiment above the cactus.
  6. Using the Twisted Citron and Peeled paint, paint the cacti and the llama is painted by using the Fossilized Amber and Vintage Photo Distress Oxides.
  7. I then used the Mermaid Lagoon to paint the sky, the Peeled Paint for the distant trees and the Fossilized Amber for the sand. Once dried, I used a white gel pen to highlight areas of the picture.
  8. I mounted the topper onto white and black card before adhering it to the 7x7" card blank.


That's it, all done.  Now its time to tidy up 😒

Catch you later for more crafting fun. Don't forget the discount code gail10 - every little helps!

Maria


Monday 15 July 2019

Woof and all that Tag

https://drive.google.com/uc?export=view&id=1TMBZUXJU6XhRlBTEtELdYBL3UmMNbpqc
A little bit of black and white today.  HereIs one of the little dogs drawn by Tracey Hey.  I used black onyx Versamark ink to stamp the image onto spare card, coloured the image using watercolours and fussy cut it out.  I die cut a black tag and splodged it with white gesso. A little bit of silver gilding wax around the outside really contrasts well with the black and white. I stamped the Woof and all that sentimentand cut it out.  Both images were glued onto the tag. Black and white ribbon were added to as a final touch.

He just needs a name now!

Thursday 11 July 2019

Happy Campervan

Hi everyone,

It's my turn to post my first card as a member of the Colourific Design Team.  I've called my card Happy Campervan because it reminds me of a holiday I had in one when I was young and everyone I know that has a campervan absolutely loves it.  It would make a great birthday card for a 17 year old as they are now old enough to learn to drive.


Materials used:

7 x 7 Card blank
Stamping card
Campervan stamp pack
Versafine Black Onyx
Wow clear embossing powder
Christine Pooler ink pad minis - Party Collection
Silver and black watercolour paint
Glossy Accents
Button from my stash
3D foam Pads
Gems
Uniball Signo white gel pen

Here's how I made it:

To make my card, I stamped and embossed the campervan onto a piece of stamping card using an Onyx Black Versafine ink pad and clear embossing powder.  

I coloured the image in using Christine Pooler Mini ink pads with silver and black watercoloured paint.  

Then cut out the image and added glossy accents to the lights, gems to the indicators, a button as the badge and added a little white pen as a highlight. Then let it dry - walk away!!!!

For the backing I stamped the medium flower onto a piece of 6.x 6" stamping card to make a border.

I mounted the background onto a wine coloured card and then onto the white card base.  The campervan is adhered to the card by using a combination of 3D foam and 3D glue gel.

Finally, I stamped and cut out the number plate and the Happy Birthday sentiment and used a 3D foam pad to give them extra dimension.

The campervan stamp set contains 22 stamps in total and can be bought on the Colourific site here along with many more beautiful stamps.

Hope you like it, have fun!

Maria 


Monday 8 July 2019

Jordan, one of a kind

Good morning everyone, and welcome to my very first blog for The Little Paper Tree.  
This is my card, step by step instructions of how I made it will follow.  Please feel free to comment and ask questions at the end of the blog.


What you will need - 
Black card 5.5" x 7.25"
Honey Bees No Problama stamp set for the sentiment
Distress Oxides (I used Fossilised Amber, Fired Brick and Vintage Photo)
Light Grey Nuvo marker
Nuvo Crystal Drops Repened Pumpkin and Dandelion Yellow
Paper cutter, Water spritzer, stamping block, blending mat or glass mat, paintbrush, 
You will find the items for sale at The Little Paper Tree
https:\\thelittlepapertree.com\  Use the discount code gail10 for 10% off your order.

Here is what I did:
Take the 4.5 x 6" watercolour card and stamp the Jordan Girl and Sentiment using Versafine Onyx Black ink.


Stamp a small amount of the Distress Oxides onto your blending mat and use the ink to paint the image.


Outline the Jordan Girl image with a light grey Nuvo Marker.


Stamp the Fossilised Amber and Fired Brick Distress Oxides on your mat again, this time using more ink, then spritz with water.  Swipe, swish and dab the 5 x 6.5" watercolour paper through the ink.


Dry naturally or using a heat tool.  Mount the background onto the black card then onto the A5 card blank


Adhere the topper to the card and add the Nuvo Crystal Drops.


To finish the card off, I used the Nuvo Crystal Glaze to enhance the flower and butterfly.


And there you go, all done!  Don't forget to let the crystal drops and glaze dry thoroughly before touching!

I hope you enjoyed this step by step tutorial - don't forget to use the discount code gail10 when ordering your products from The Little Paper Tree.  If you like the images and want to see more, why not join our Facebook group, The Little Paper Treehouse Tribe. #shopthelittlepapertree #thelittlepapertreeuk

Bye for now
Maria

Thursday 4 July 2019

I need a holiday - thank you card for Teacher

Good morning,
It’s getting near the end of term at school - anyone want ideas for a thank you card for a Teacher. Here is mine:
What you need:

Card base - I used a 7x7 card base but you can easily change the backing papers to fit whatever size you choose 

Silver card
Patterned backing papers from your stash
Stamping card 
Distress Oxides - I used 3 in pinks and purples but you can choose your own preference
Versafine black ink pad
Robot stamp is one of Doodlins by Donna - available on her Etsy site
Border stamp from the set of bee stamps from Bee Crafty
Small button die or buttons
Double sided Tape - tacky glue
Paintbrush
Foam pads
White gel
Tiny gems

Here’s what I did:
Firstly I stamped the robot image into stamping card and  used my oxides to colour him in, then detail cut him out (apart from the antenna).

Next, I took my three oxides, stamped them into my blending mat and spritzed them with water.  I then swiped and dabbed a piece of stamping card A6 sized  through it.  Dry this off thoroughly with your heat gun or leave to dry naturally.  Once dry, I splatted the same colours onto the top using a brush and dried it off again.

 I stamped the Robot again, using the Versafine pad, onto the middle of the background and using the darkest oxide randomly stamped some of the background images from Donnas stamps onto the background and stamped one of the Bee Crafty Borders round the outside if this card.

Next, glue the already cut out robot over the top of the stamped background card so that the antennas are in the correct place.  I then used my white gel pen and gems to highlight areas of the Robot.

Finally, layer up the patterned paper and silver card on a jaunty angle (I used double sided tape) and put your robot on top. Add the die cut buttons to the corners and stamp, mat and layer a sentiment to finish off your card.

I hope that made sense, please let me know how you go on! 
See ya l8r
Maria

Link to The Little Paper Shop and my discount code

For 10% discount off anything you buy from the Little Paper Tree go to  The Little Paper Shop and use my discount code gail10

Wednesday 3 July 2019

Hello, Newbie Blogger here

Hi everybody,

Newbie Blogger here, just getting to grips with this so bear with me.  My name is Maria and I have been crafting since I was little.  I am primarily a papercrafter and love making cards and tags.  I have just been accepted on a couple of Design Teams and will be sharing my work on their blogs too.  More info to follow

My aim is to show you what I am making with descriptions of how I have made them and some will have step by step tutorials.  But for now, in true Blue Peter style, here are a couple I made earlier


You can also find my cards on my Facebook page:  Maria's Makes
My Instagram page:  Mazdieg
and on Pinterest:  Maria Grimshaw.


So, keep an eye open in the future and have a look at my Social Media sites

See ya l8r

Maria

Doxies Party

Here’s Doxies Party card made from the new stamp sets from Catherine Pooler Designs made for The Little Paper Tree Instahop. Stamped in the ...